
⭐⭐⭐⭐⭐ “Wonderful quality and well made! Thanks for the free gift! 😀” -Shan 3/30/24 ⭐⭐⭐⭐⭐ “This is the second one that we got because we liked the first one
Flameware Skillet Buttermilk Biscuits
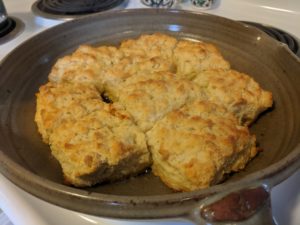
Despite spending years working in kitchens, I’ve never been much of a baker. Most of my time was spent juggling several pans on burners; a collection of steaks, burgers, chicken,
Chicken Chalupas
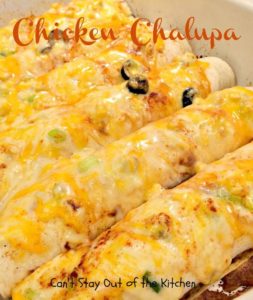
Chicken Chalupas 1 doz. medium flour tortillas 4 chicken breasts 2 cans cream of chicken soup 1-8 oz can mild diced chilies 1-4 oz can black olives sliced 1 pint
Skillet Apple Pie
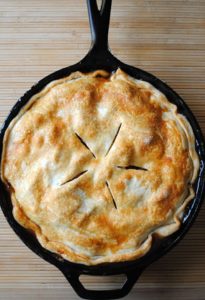
A few months back, the Coyotes tried out skillet desserts! Since then, we’ve found another one we think is too good not to share. Enjoy! Skillet Apple Pie Make or
Chicken in Red Wine Vinegar
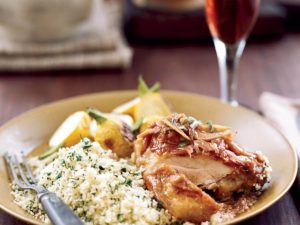
This is a recipe to try with our vinegar crock.